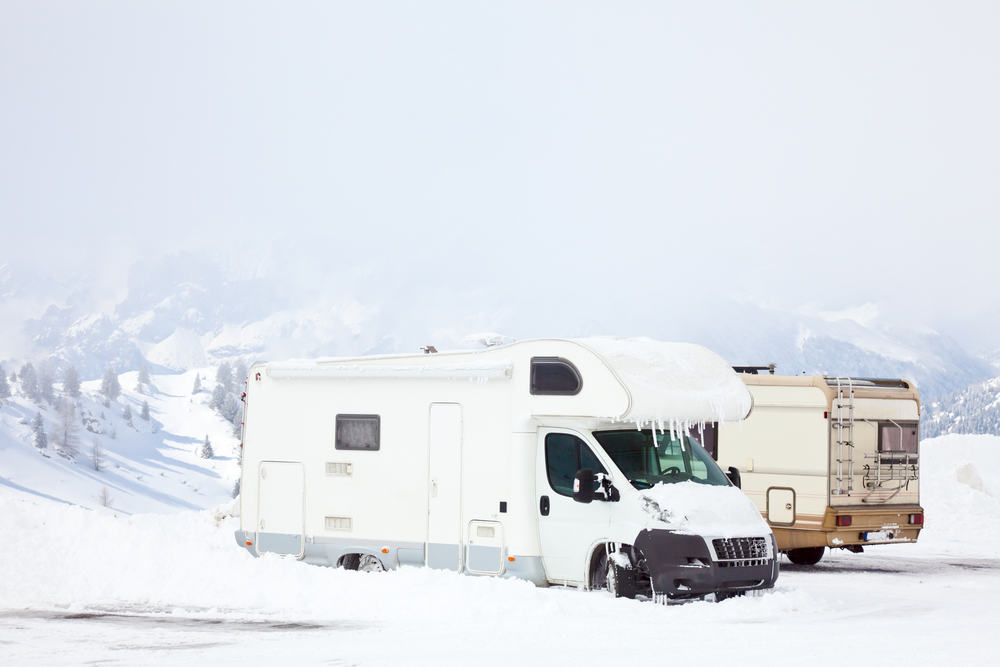
Winterizing your RV is essential for any owner, especially as we approach the colder months. With falling temperatures and harsh weather conditions on the horizon, now is the perfect time to prepare your RV for winter. Proper winterization not only helps prevent costly damages but also helps extend the lifespan of your vehicle.
However, winterizing can seem daunting and overwhelming if you’re new to RVing. That’s where this comprehensive guide comes in. This post will walk you through a step-by-step process to winterize your RV for the first time. We’ve got you covered, from protecting your plumbing system to safeguarding your appliances and interior. So, whether you’re a new RVer or a full-time road trip enthusiast, keep reading to learn how to winterize your RV like a pro.
Pre-Winterization Preparation
Before you begin the winterization process, taking some preliminary steps to prepare your RV is essential. Here are some tips to ensure a smooth winterization:
Gather Necessary Supplies
To properly winterize your RV, you’ll need specific supplies like antifreeze, a water heater bypass kit, and a hand pump. These items are readily available at your local RV store or online. Gathering all necessary supplies beforehand will save time and avoid any stress.
Check for Leaks and Repairs
Before winterizing your RV, checking for leaks or necessary repairs is vital. Water leaks not only cause damage to your RV but also encourage mold and mildew growth. Addressing these issues before winterizing your RV will prevent further damage during the cold months.
Empty and Clean the RV
Emptying and cleaning your RV is crucial before winterization. Any remaining water in the pipes, tanks, or appliances can freeze and cause damage. Cleaning your RV will prevent any food or liquid from rotting and attracting pests, ensuring a fresh start when you’re ready to use it again.
Disconnect External Connections
Before winter sets in, disconnect all external connections, including water hoses and propane tanks, from your RV. Turning off all appliances and electronics that drain your RV’s battery is also crucial. These simple actions will protect your RV’s delicate systems from freezing temperatures and ensure a long lifespan for your vehicle.
Water System Winterization
Winterizing your RV’s water system is essential to prevent freezing and damage during the cold months. Here are some steps to ensure your RV’s water system is properly winterized.
Draining the Freshwater Tank
The first step in winterizing your RV’s water system is to completely drain the fresh water tank. It will help prevent any bacteria or algae buildup during storage. Ensure to drain the water heater by opening both the hot and cold valves.
Emptying the Gray and Black Tanks
Emptying your gray and black tanks is another crucial step in winterizing your RV’s water system. These tanks must be emptied of all wastewater to avoid any damage caused by freezing temperatures. After emptying, flush the tanks with clean water and add a holding tank treatment to prevent any odors from developing.
Bypassing the Water Heater
Bypassing the water heater is another essential step in winterizing your RV’s water system. It involves closing off the water flow to the heater and using a bypass kit to route the antifreeze through the pipes instead.
Using Antifreeze in the Pipes
The final step in winterizing your RV’s water system is to use antifreeze in the pipes. It involves pumping antifreeze through each faucet and fixture until you see it coming out of the drain. Be sure to also add antifreeze to your RV’s toilet bowl, tank, and other water systems. Following these steps will ensure that your RV’s water system stays protected during winter.
Heating and Insulation
RV enthusiasts need to ensure their vehicles are equipped to keep them warm during winter. Proper heating and insulation are crucial, and there are several steps you can take to ensure that your RV stays warm and cozy. Start by inspecting and sealing any gaps or cracks around your windows and doors – this will prevent warm air from escaping and cold air from getting in. Checking your furnace is also important to make sure it’s working correctly.
Schedule a professional inspection, clean or replace the filters, and ensure no debris around the furnace. Finally, if you plan to use space heaters, remember to use them safely. Keep them away from flammable materials, never leave them unattended, and avoid using extension cords.
Kitchen Area
The kitchen is another area to consider when preparing your RV for winter. Start by emptying and winterizing the refrigerator – this will prevent any water from freezing and damaging the fridge. Clean and store all kitchen supplies, including dishes, utensils, and appliances. Remove any food items that may attract pests or spoil during winter. It’s also a good idea to thoroughly clean the kitchen area to avoid any potential mold or mildew growth. Consider investing in some winter-proof storage containers or bins to keep your kitchen supplies safe while in storage. Following these steps will ensure your kitchen area is ready when you hit the road again in the spring.
Bathroom Area
When preparing your RV for winter, paying attention to the bathroom area is also essential. Start by draining and winterizing the toilet to prevent any water from freezing and causing damage. It involves turning off the water supply, draining the toilet bowl and tank, and adding antifreeze to the bowl. Next, prepare the shower and sink by removing water from the pipes and traps and adding antifreeze to the drain. Make sure to empty any holding tanks and clean the black and gray water tanks before storing your RV for the winter.
Bedroom and Living Areas
As you prepare your RV’s bedroom and living areas, another crucial step is to clean all bedding and linens and store them in protective containers. It will help prevent moisture from causing issues while your RV is in storage. Unplugging electronics and appliances and storing them in a dry, temperature-controlled environment can protect them from potential damage during freezing temperatures. Finally, cover furniture with protective coverings to prevent dust buildup and other issues arising when an RV is unused.
Exterior Winterization
As winter approaches, protecting your RV’s exterior from the elements is equally important. One essential step is to cover the tires to protect them from the damaging effects of cold weather. It can help prevent cracking and other types of damage caused by exposure to extreme temperatures. It’s also a good idea to protect the exterior surfaces of the RV with a high-quality cover or wax to prevent fading and other issues. Finally, winterize your awning and slide-outs to help protect them from damage caused by snow, ice, and cold temperatures.
Conclusion
Learning how to winterize an RV is no easy feat, especially if you’ve never done it before. Hopefully, this guide has provided a comprehensive overview of what needs to be done in each area to help make the winterizing process as stress-free as possible. From ensuring your roof and windows are securely sealed to stocking up on plenty of cold-weather supplies, keeping an RV safe and operational during the coldest months of the year takes a lot of preparation and careful consideration to get the job done right. And now you know how! The key is taking time before winter to check for any areas requiring additional attention or maintenance properly. This way, nothing will catch you off guard when those blustery days arrive. With these simple steps in mind, go forth and get ready for a successful season ahead.